- elements:utilities
- introduction
- getting-started
- routing
- utilities
- elements:layouts
- elements:action-bar
- elements:components
- elements:dialogs
- elements:utilities
If you want to explore the NativeScript Playground, you can start by creating a simple to-do app with the following requirements:
Basic design
- Two-tab layout
- One tab shows active tasks and lets you add new tasks
- Second tab lists completed tasks
(Coming soon) Basic functionality
- (Coming soon) Add tasks: Users can add tasks as text
(Coming soon) View tasks
- (Coming soon) Newly added tasks are listed as active and can be tapped
- (Coming soon) Completed tasks are listed on a separate tab
- (Coming soon) Complete tasks: Tapping an active task completes it and moves it to the other tab
- (Coming soon) Delete tasks: Tapping an "X" button removes active or completed tasks
(Coming soon) Advanced functionality
- (Coming soon) Schedule tasks: Users can set deadlines for tasks by picking a date from a calendar widget
- (Coming soon) Manage tasks in bulk
TIP: All sections of this tutorial contain a Some NativeScript basics and Requirement implementation sub-sections. You can skip the basics sub-section and jump straight to the implementation for a more hands-on approach.
The bare Vue.js template

All development effort for this tutorial happens in app.js and app.css, containing the app functionality and taking care of the app styles, respectively.
The app.js for your newly created Vue.js project consists of a simple template declaration without any functionality. As you drag and drop user interface components to the app, the Playground also adds a methods block and populates it with code containing actual app functionality.
In app.js, you'll be working in the template block to design the user interface or in the methods block to build the app functionality. The template block requires NativeScript-compatible XML. The methods block accepts both Vue.js and NativeScript JavaScript code.
Basic design
Section progress
Here's how your app will look at the start and at the end of this section.
| Initial screen | Tab 1 | Tab 2 |
|---|---|---|
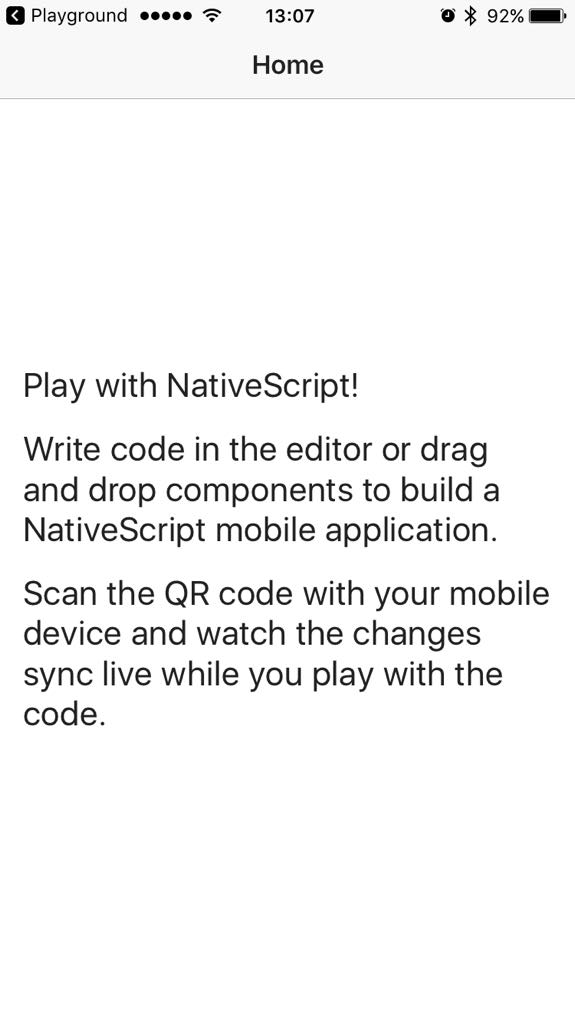 | 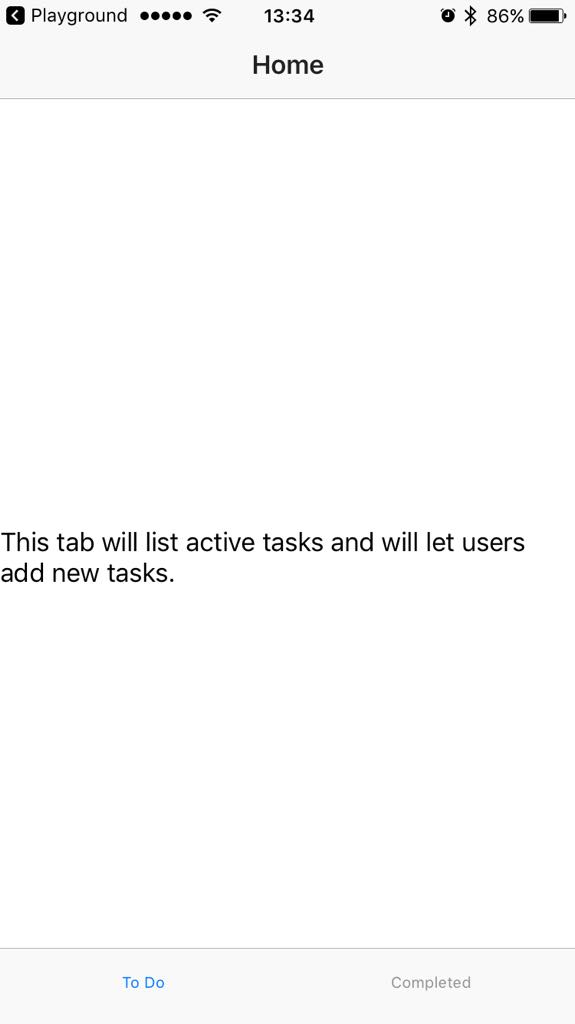 | 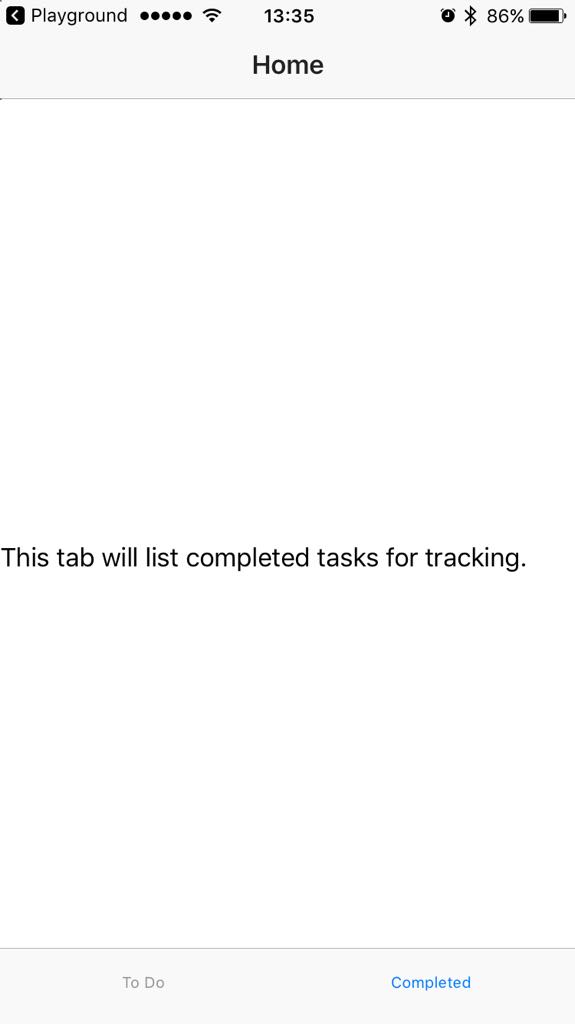 |
Some NativeScript basics
The <Page> element is the top-level user interface element of every NativeScript+Vue.js app. All other user interface elements are nested within.
The <ActionBar> element shows an action bar for the <Page>. A <Page> cannot contain more than one <ActionBar>.
Typically, after the <ActionBar>, you will have navigation components (such as a drawer or a tab view) or layout components. These elements control the layout of your app and let you determine how to place other user interface elements inside.
Requirement implementation
Use the <TabView> component to create a two-tab app.
- Remove the default
<ScrollView>block and all its contents that come with the template.<ScrollView>components are top-level layout containers for scrollable content. - Drag and drop the
<TabView>component in its place.
The Playground doesn't apply code formatting and doesn't take care of indentation when inserting new components. - Configure the height of the
<TabView>to fill the screen (set it to 100%).
On an iOS device the default height setting causes the tabs to show somewhere around the middle of the screen. - Change the titles of the
<TabViewItem>elements and their contents to reflect their purpose.
At this point, text content for the tabs is shown in<Label>components with no styling and formatting. Apply thetextWrap="true"property to the respective<Label>components to improve the visualization of the text.
new Vue({

  template: `
    <Page class="page">
      <ActionBar title="My Tasks" class="action-bar" />

      <TabView height="100%">
        <TabViewItem title="To Do">
          <Label text="This tab will list active tasks and will let users add new tasks." textWrap="true" />
        </TabViewItem>
        <TabViewItem title="Completed">
          <Label text="This tab will list completed tasks for tracking." textWrap="true" />
        </TabViewItem>
      </TabView>

    </Page>
  `,

}).$start();